![Nine Safety Steps for Removing Nipple Piercings [With Five Precautions]](http://drnumb.com/cdn/shop/articles/How_To_Remove_Nipple_Piercing__9_Steps_Very_Careful.jpg?v=1709297759&width=1100)
Nipple piercings are bold jewelry pieces that can last a lifetime with proper care. However, you may need to remove them for medical reasons, breastfeeding, or to switch to something new.
Changing a nipple piercing is easy but requires patience to avoid injury. Start by taking safety precautions like ensuring the piercing is healed and washing your hands. Then, use ring-opening pliers or your fingers to remove the old jewelry.
To remove an old nipple piercing, unscrew the top ball of the barbell and gently pull out the barbell through the piercing hole. Use ring-opening pliers to remove the ring for a captive bead ring (CBR).
The pliers should be attached to the ring, and the other side should be steady. With the pliers, drag one end of the call from the bead, letting the bead fall. If you experience any pain or resistance, seek help from a professional piercer.
In this article, we will explain some steps to remove nipple piercings safely and the essential precautions to take when removing nipple piercings.
How To Remove Nipple Piercing: 9 Steps

Nipple piercings are unique and stylish, but there might be times when you need to remove or change them. Whether it's for a medical procedure, a sports activity, or simply to switch up your style, knowing how to remove and replace your nipple piercing safely is crucial. Following are some steps to follow when removing nipple piercings:
Dealing With a Threaded Barbell
A threaded barbell is a straight or curved rod with a small ball on each end. One (or both) of these balls can be unscrewed, allowing you to remove or replace the barbell.
Step 1: Unscrew the Barbell
For removing a threaded barbell, it's essential to proceed with caution. The first step is to unscrew one end of the barbell. Hold the bar steady with one hand and gently twist the ball counterclockwise with the other until it comes off.
It's important to be gentle while doing this to avoid any injuries. Once you've removed one end, you can easily remove and clean the barbell. Remember to screw the ball back on securely when you're done.

Step 2: Remove the Barbell
If you're planning to remove a barbell from your nipple, it's essential to take it slow and avoid any discomfort. Start by unscrewing one end of the barbell, and then drag the rod out of your nipple.
It's important not to rush this process or yank it out, as this could cause unnecessary pain and damage. The barbell can be removed from your nipple with ease.
Step 3: Prepare the New Piercing
If you're planning on getting a new piercing, it's essential to prep the area beforehand. One way to do this is by coating the piercing with a water-based lubricant.
This will help the new barbell slide in easily without causing too much friction or discomfort. Simple steps like this can make for a smoother and more comfortable piercing experience.
Step 4: Insert and Secure the New Barbell
To insert a barbell into a piercing, lubricate it and gently slide it into the hole. Once it's in place, you can screw the ball back onto the end of the rod to secure it. This will ensure the barbell stays in place and won't fall out. It's important to be gentle and take time to avoid discomfort or injury.
Handling a Captive Bead Ring
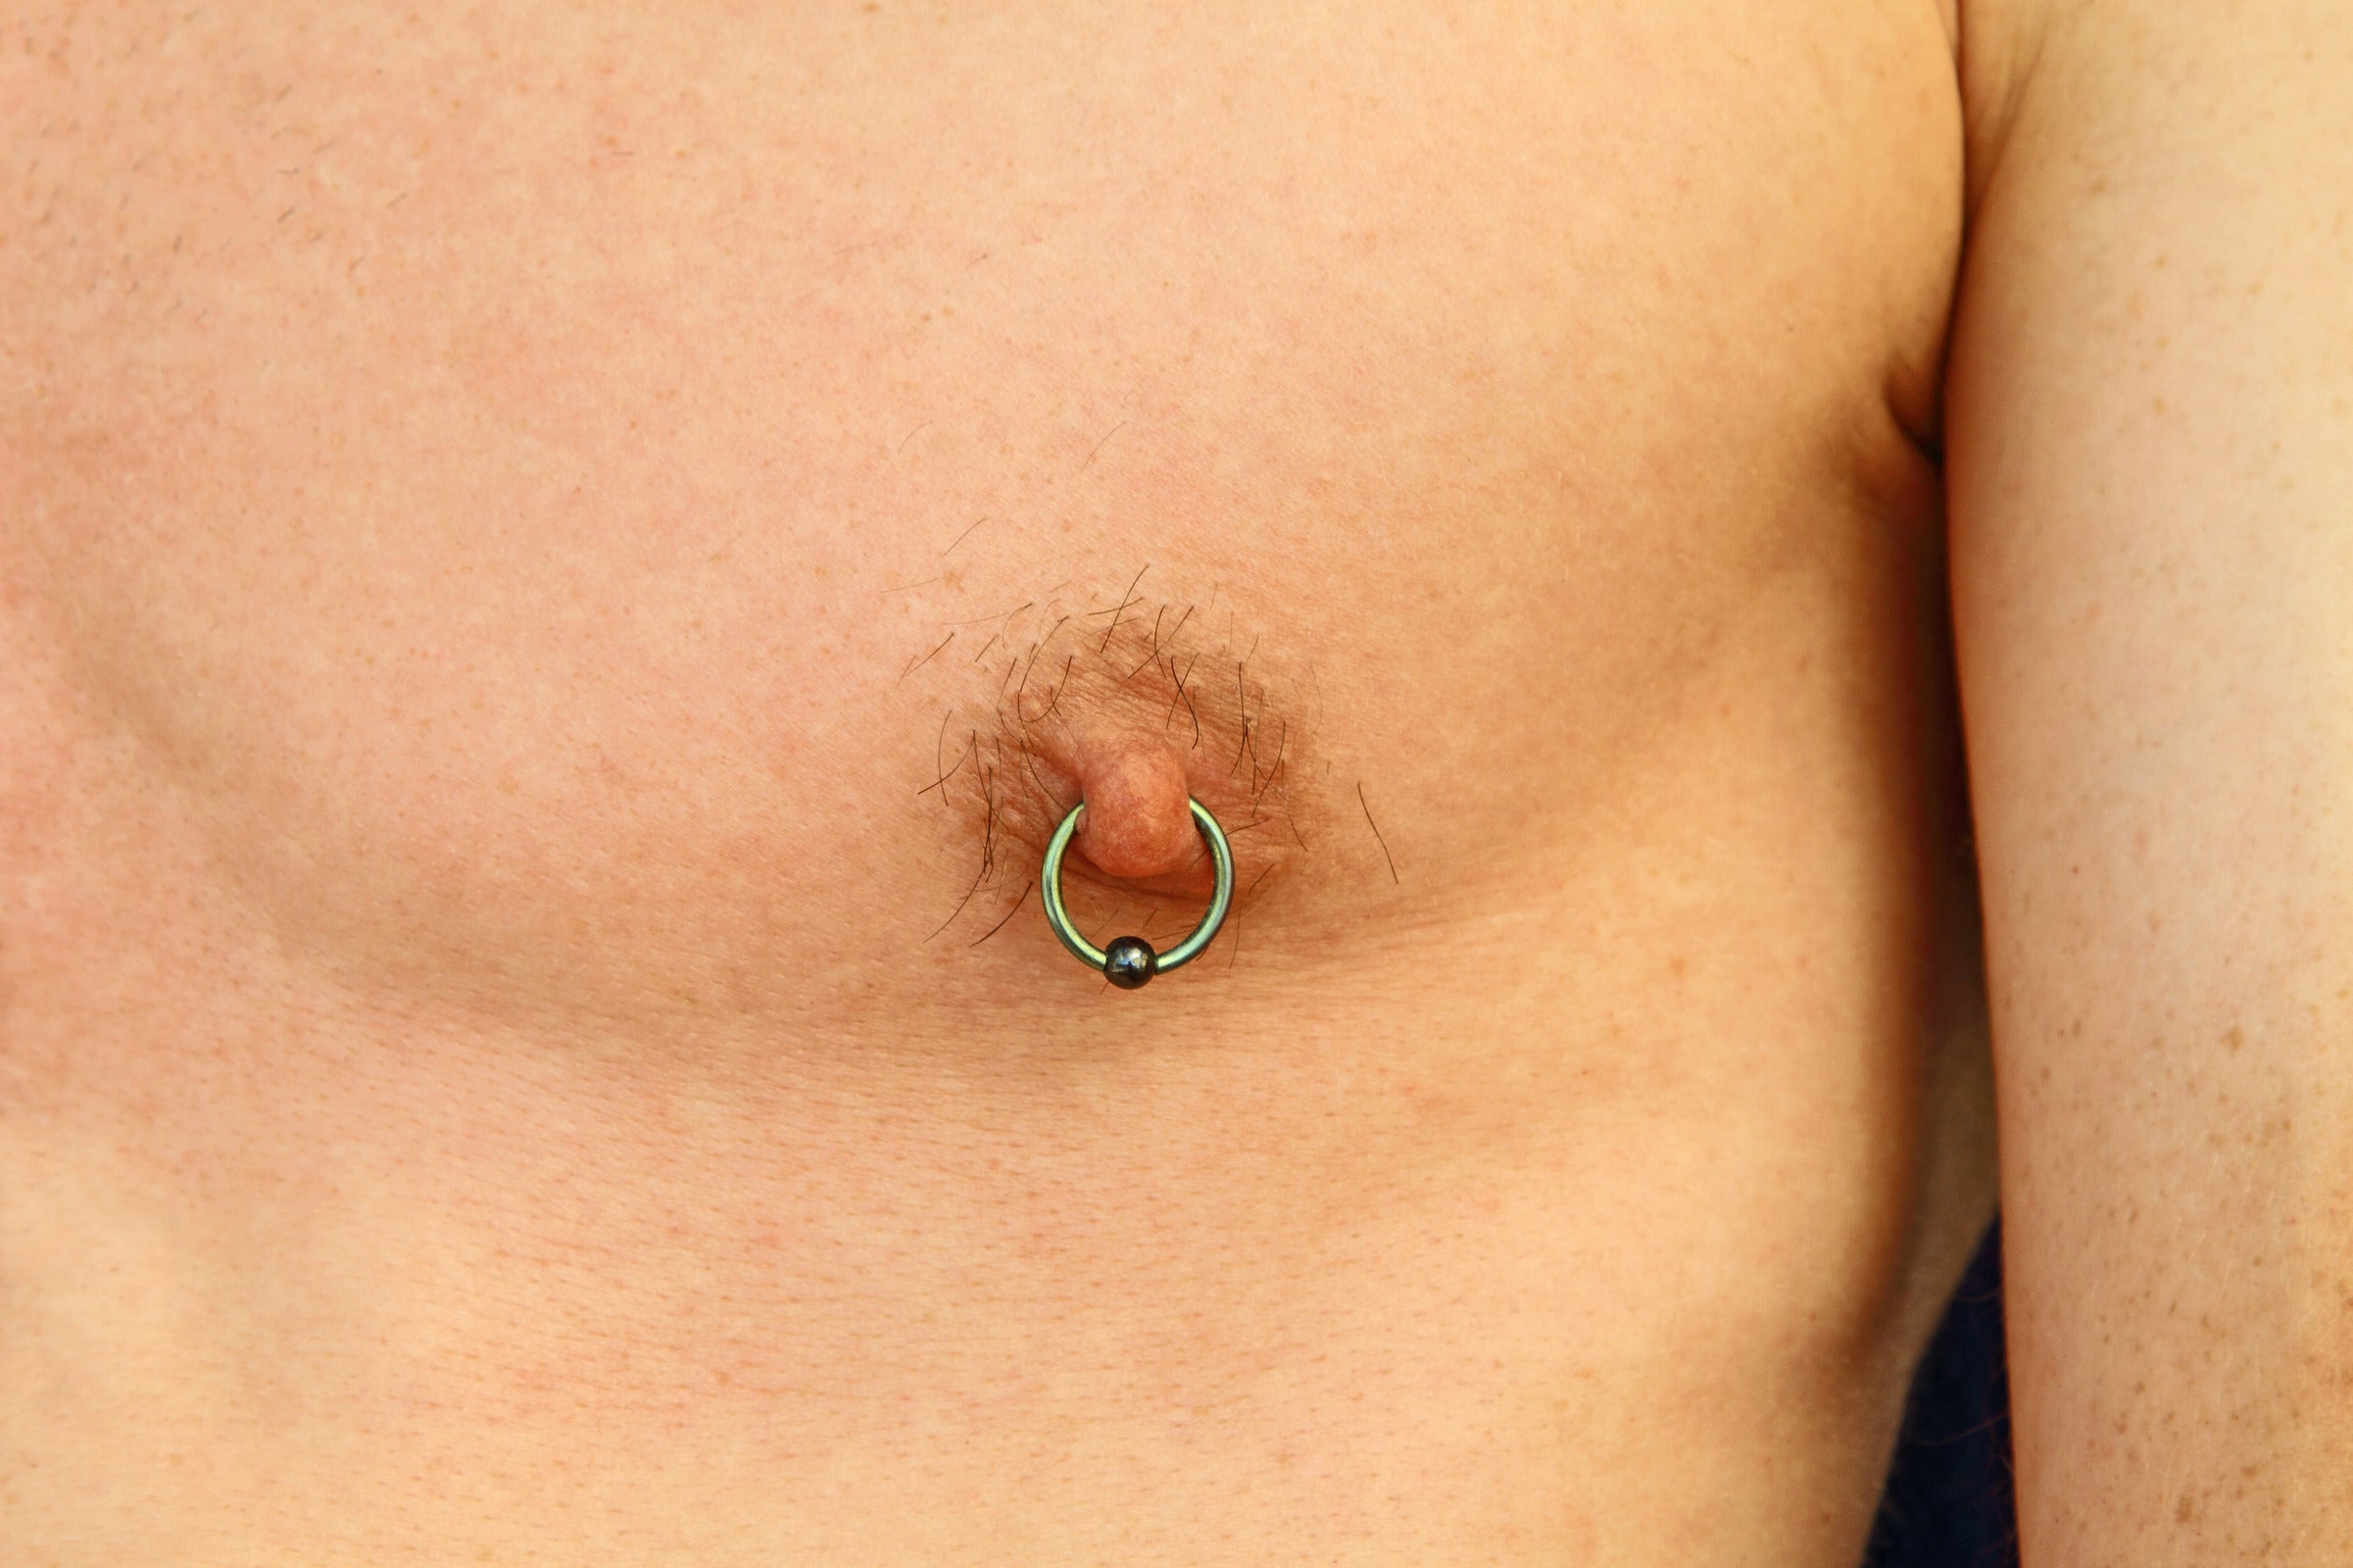
A captive bead ring (CBR) is a circular ring with a small bead that fits into a gap in the ring. The bead is held in place by the tension of the ring.
Step 1: Prepare Your Work Area
Taking precautions when working with tiny beads is essential to prevent them from getting lost. One simple tip is to lay a towel on your work surface before starting. If it falls off your work area, it will provide a soft landing for the bead. Plus, the towel will prevent the bead from rolling away, making it easier to find and retrieve.
Step 2: Open the Ring
You'll need a specialized tool called ring-opening pliers to remove a CBR. With these pliers, you can carefully pry open one side of the CBR just enough to remove the bead. Be cautious not to open the ring too much, which can distort its shape. Proper use of the pliers will make the process quick and easy.
Step 3: Remove the Ring
To remove the ring from your nipple, follow these steps. First, take out the bead and open the round. Then, carefully rotate the call through the pierced hole until entirely detached. Proceed gently to avoid any pain or injury. Proper care and hygiene are crucial when dealing with piercings to prevent infections and promote healing.
Step 4: Prepare and Insert the New Ring
To quickly insert the new CBR, apply a water-based lubricant, similar to how you would use it with a barbell. Use ring opening pliers to open the new ring gently, then carefully slide one end into the piercing hole. This technique ensures a smooth and comfortable experience during the process.
Step 5: Secure the New Ring
To secure the bead, slide it onto one end of the ring. Then, place the call and use a pair of ring-closing pliers to gently squeeze the circle's ends together until the bead is firmly in place. A snug fit ensures a secure hold on the dot, keeping it in position.
Remove nipple piercing: 5 Essential Precautions
Removing your nipple piercing can be exciting, but it's essential to do it safely. Here are some easy-to-follow Precautions tips to avoid any problems or discomfort.
- Make Sure Your Piercing is Healed: First off, take your time changing your piercing. You need to wait until it’s fully healed to avoid infections. This might take a few months or even up to a year. If you're unsure if it's healed yet, ask a professional piercer.
- Watch Out for Scar Tissue: If you remove your piercing and let the hole close, it could leave a scar. It's normal but could change how future piercings look or feel. If you're worried about this, talk to a professional piercer or a skin doctor.
- Avoid Forceful Removal: It's essential to be cautious when removing stuck jewelry. If you apply too much force, you could get hurt and damage the jewelry. In such situations, seeking professional help from a jeweler or other expert may be the best course of action to ensure a safe and successful removal.
- Wash Your Hands First: Just like you need to clean your new jewelry, you must also clean your hands before changing your piercing. Use soap and hot water to eliminate germs that could get into your piercing.
- Talk to a Doctor if Needed: If you think your piercing might be infected, talk to your doctor right away. Infection symptoms include redness, swelling, pain, or discharge around the piercing. It's better to be safe than sorry about your health.
Conclusion
And there you have it! Removing your nipple piercing doesn't have to be intimidating or painful. With the right tools, patience, and the critical safety measures described in this article, you can switch up your style while prioritizing your health.
Remember, a piercing is a testament to your unique style, and changing it should be just as enjoyable as getting it. So next time you want to modify and change your jewelry or remove it for a particular reason, just refer to this guide, and Voila, you'll be a pro in no time.
Recommended Products


![The Recovery Time and Stages of Nipple Piercings [Best Practices]](http://drnumb.com/cdn/shop/articles/How_Long_Do_Nipple_Piercings_Take_To_Heal__3_Stages_Explained.jpg?v=1714373243)