If you don't know what you're doing, piercing your lip at home can be hazardous. It is safer to pierce your lips than elsewhere. If you pierce your lip, you should get the right equipment, do it right, and clean it up right away.
Use antibacterial soap and water to clean and dry your hands before piercing. Use a new, sterile piercing needle the same size as your jewelry.
Sewing needles are not sharp enough and may damage your skin. Ensure the piercing area is symmetrical with a pen or marker.
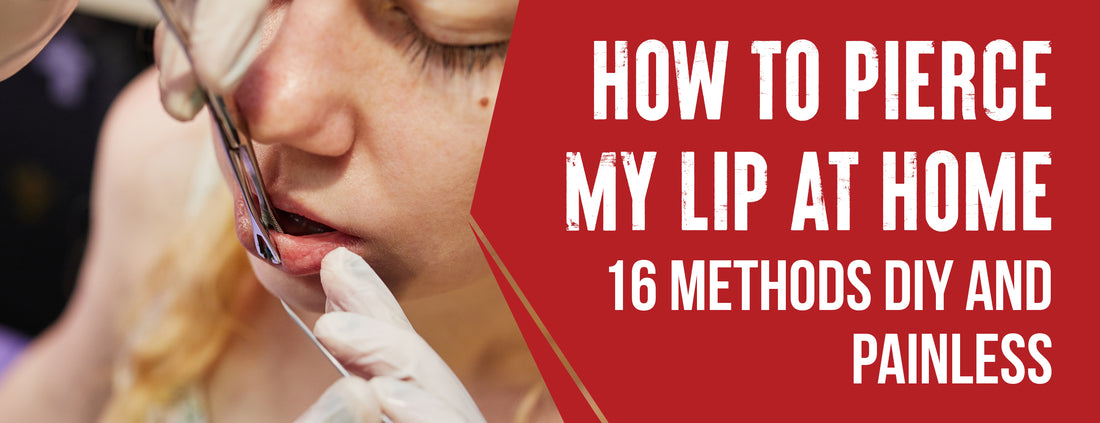
This blog post will explain the best painless ways to pierce my lips at home.
How To Pierce My Lip At Home: 16 DIY Painless Methods

You've decided you want a lip piercing. That's great! It's important to know what you're getting into before you poke holes in your face. It is necessary to take care and attention before, during, and after lip piercings. The following methods ensure a painless and successful lip piercing at home.
Make the Decision
Deciding to get a lip piercing is a big step. The health and appearance of your lips can be affected by lip piercings. Therefore, it is crucial to consider whether you want to go through with it. Do some research, ask your friends or family for their opinions, and weigh the pros and cons before deciding.

Consider Risks
If you're considering getting your lip pierced, it's crucial to research and be aware of the associated risks. Professional piercers have the experience and training to perform the procedure safely. Take the time to find a reputable piercer and discuss any concerns or questions before going through with the piercing.
Gather Your Equipment
Once you've decided, the next step is to gather all the equipment for the piercing. This includes a piercing needle, a piece of jewelry, and a clamp. Remember, using professional-grade equipment is essential to ensure a safe and clean procedure.
Refrain from substituting these tools with household items like sewing needles or safety pins. This could lead to severe infections or complications.
Clean Your Needle
Before you begin the piercing process, cleaning your needle thoroughly is essential. If you don't have rubbing alcohol, you can use an autoclave, a device used to sterilize medical equipment. Cleaning your hand is crucial to prevent infections or complications from using a dirty needle.
Prepare To Pierce Your Lip
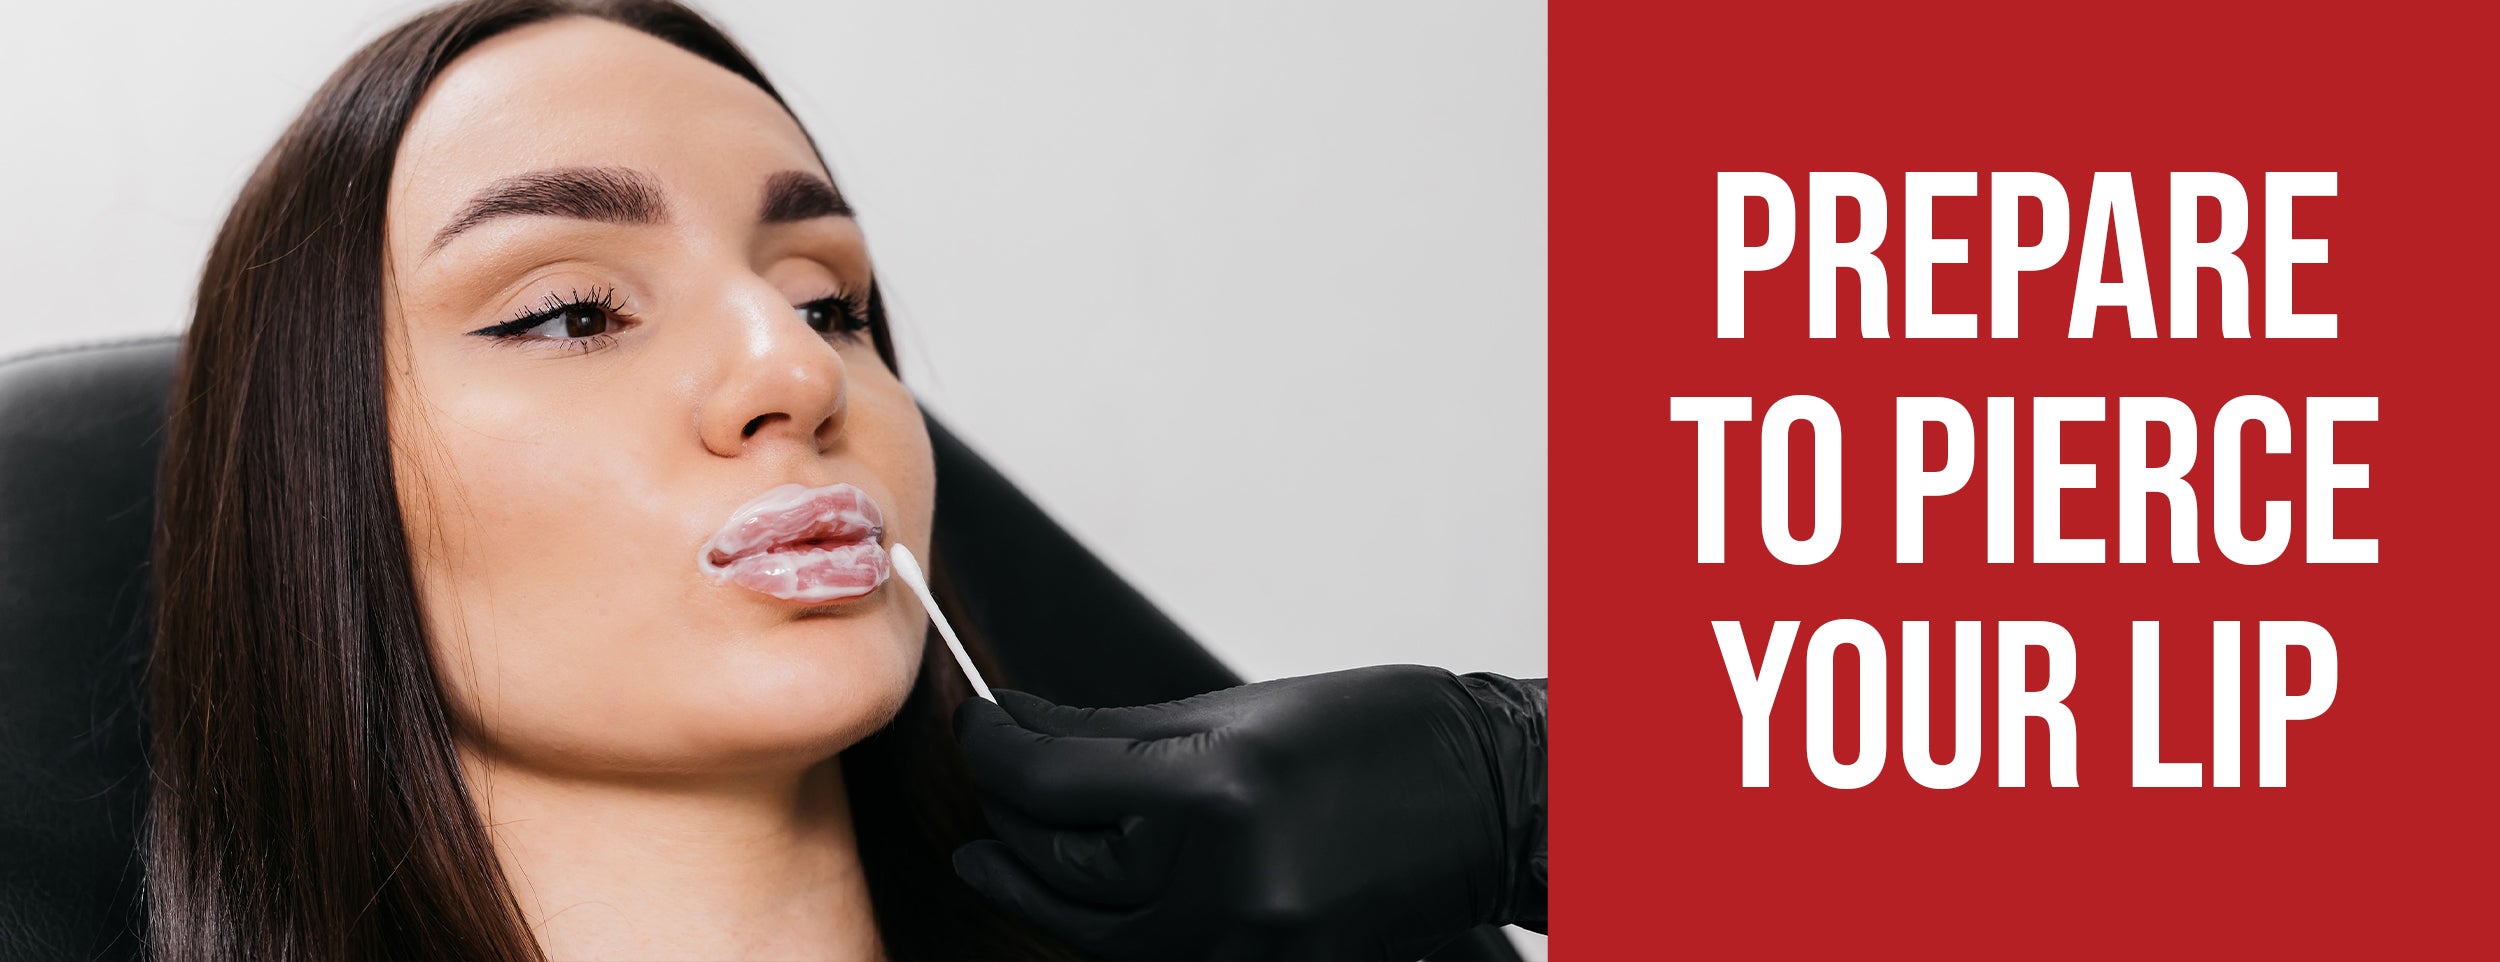
With your cleaned needle and other equipment ready, it's time to prepare for the piercing. Find a quiet, well-lit place where you can concentrate on the task at hand. Make sure you're calm before you start being anxious, which could make the process more difficult and potentially painful.
Wear Clean Gloves
Before you begin, put on a pair of clean vinyl or rubber gloves. This is a crucial step to prevent germs or bacteria from getting into the new piercing from your hands. Even if you've washed your hands, it's still possible for them to carry bacteria that could cause an infection.
Start From The Inside
You're ready to start the actual piercing. Start from the inside of your lip, carefully guiding the needle through to the outside. This method makes it easier to control the exit point of the piercing and ensures a smoother process overall.
Follow-Through
After the needle has made its way through your lips, it's time to follow through by inserting the jewelry. Do this quickly to prevent the hole from closing up. Be careful not to tighten the jewelry too much, as this could cause discomfort or damage.
Post-Piercing Care
It's normal for a new piercing to discharge about three weeks after the procedure. This is part of the healing process and nothing to worry about. Infections can be prevented by keeping the area clean during this time. It is best not to touch your piercing with dirty hands and not move or twist the jewelry too much.
Numbing
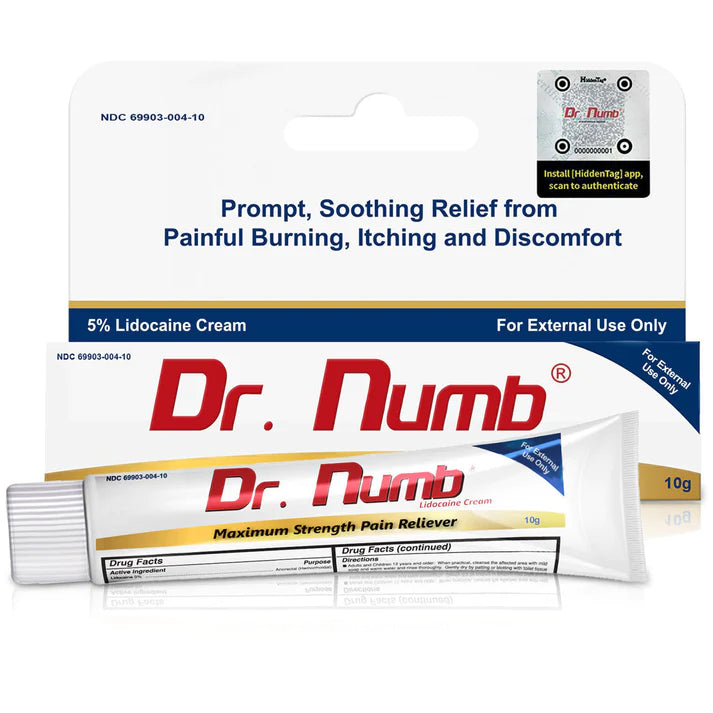
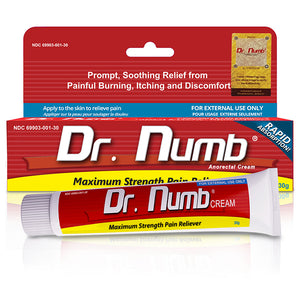
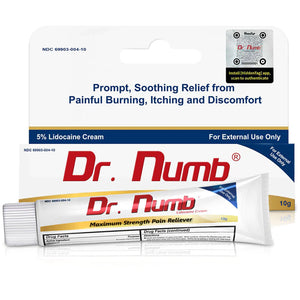
The step in a painless home lip piercing is numbing the area. This can be done using a topical numbing cream or gel designed explicitly for body modifications. An effective numbing agent will lessen the discomfort associated with the lip piercing process. Apply it as the manufacturer directs and allows enough time to take effect before proceeding.
Pierce from the Inside Going Outwards
When piercing your lip at home, starting from the inside is essential. This approach reduces the chances of infection, as bacteria from the skin surface are less likely to enter the wound.
It is less painful than the alternative method. Using a mirror, carefully align the needle with the mark you've made on your lip. Once you know your aim, push the hand through swiftly and smoothly.
Use a Straight Hollow Needle
For a successful home lip piercing, use a straight hollow needle. These needles are specially designed for body piercing, with a sharp point and hollow center that allows jewelry to follow the hand through the piercing hole.
They are typically made of surgical steel, which is safe for body modification procedures. Avoid using sewing needles or other makeshift tools, as they can cause unnecessary damage and increase the risk of infection.
Lip Piercing Needles
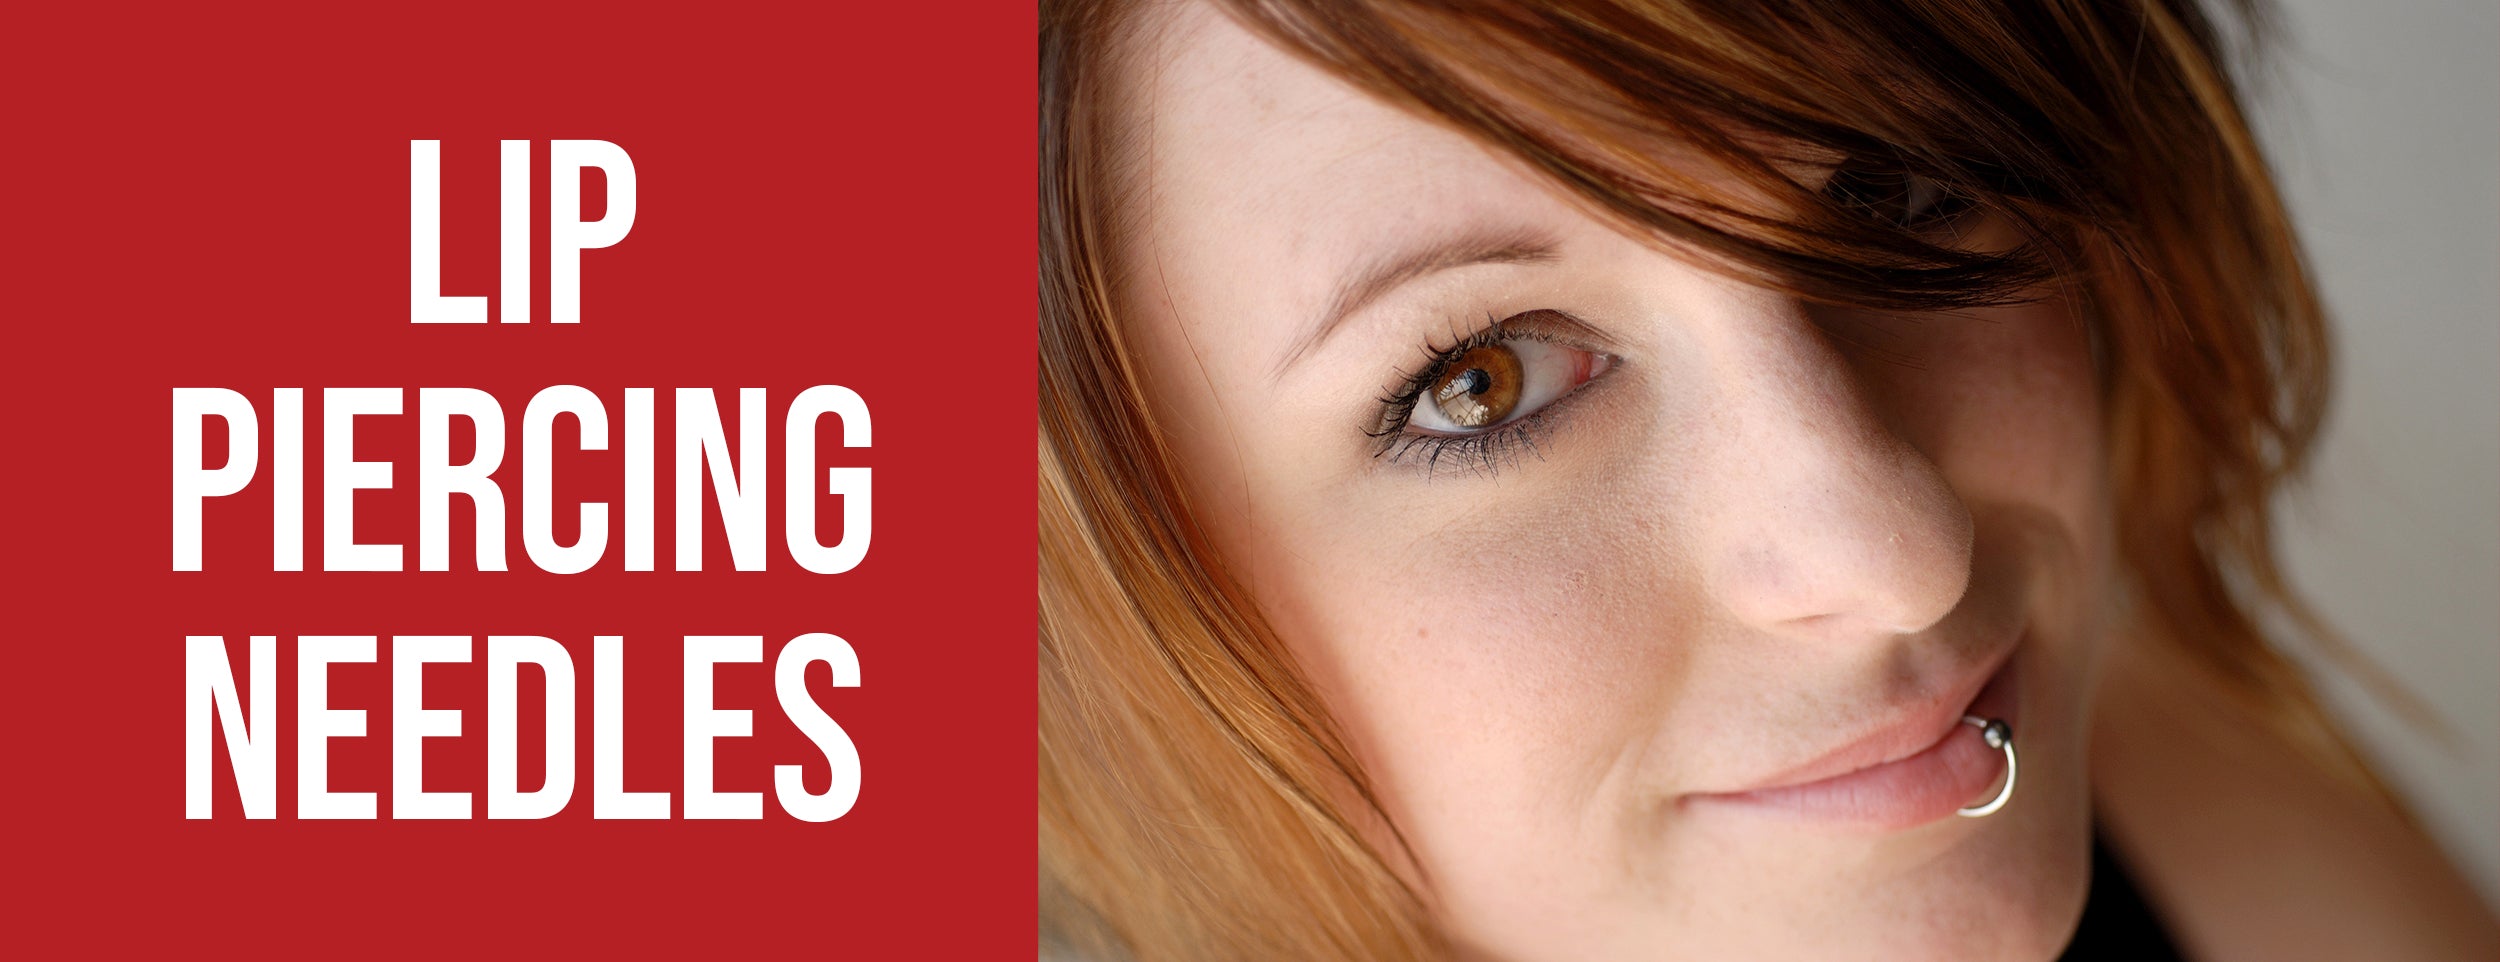
Lip piercing needles come in various sizes, usually measured in gauges. Gauge size refers to hand thickness, with a more significant number showing a thinner needle.
You typically want to use a 14 or 16-gauge arrow for a lip piercing. These needles create a hole large enough for most lip jewelry but small enough to minimize discomfort and healing time.
Lip Piercing Kits
Consider purchasing a lip piercing kit if you plan on doing it at home. These kits usually include everything you need for a safe and successful piercing, including a sterilized needle, clamps, alcohol wipes, and aftercare instructions. Some kits also come with a piece of jewelry. Choose equipment designed for lip piercing that includes the needle size.
Lip Piercing Gauge
The term lip piercing gauge measures the thickness of the jewelry that will be inserted into your new piercing. Like needles, jewelry is measured in meters, higher numbers mean thinner jewelry. For a lip piercing, the most common sizes are 14 and 16 gauge. The jewelry should match the needle size to ensure a snug fit and promote proper healing.
Conclusion
Whether you're drawn to self-expression, uniqueness, or the thrill, piercing your lip at home can be a unique experience. However, remember that it's essential to be very careful throughout the process - from getting the right equipment to following the correct technique and keeping everything clean.
After all, your health and safety should always be paramount. With a steady hand, a little bravery, and a vigilant eye for cleanliness, you can do a cool lip piercing yourself. Congrats on taking this exciting step, and remember to flaunt your new accessory with pride.
Recommended Products